How to Stop iPhone Camera from Adjusting Color
The latest iPhones are truly magnificent pieces of technology.
Take iPhone 13 Pro and those on iOS 15 and later, for example.
They can capture videos in Apple’s ProRes which facilitates advanced features such as real-time editing, multi-stream, and 4K capability.
One of the recent noteworthy features that many iPhones come with is called Deep Fusion.
This tech lets the phone’s camera auto-enhance images resulting in depth and saturation popping immensely. This can both be a good and bad thing.
Are you yearning to learn how to stop the iPhone camera from adjusting color? It’s not that hard by the way.
This article lists out a few techniques you can apply if you don’t want your media auto-edited for brightness.
Keep reading to learn them all.
How to Stop your iPhone Camera from Adjusting Color
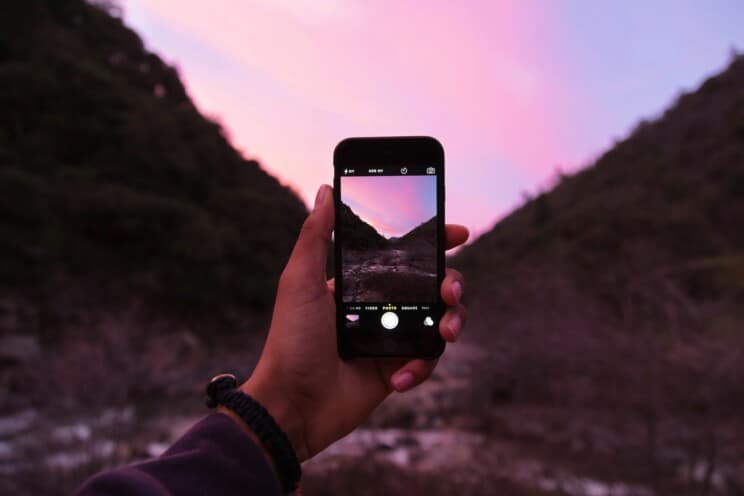
Here are a few reliable ways to ensure your photos come out with the same dynamic range as what your eyes naturally perceive.
1. Turn off the Auto-enhance feature
Auto-enhance is the culprit to blame for the resulting color correction in your photos.
As part of Apple’s Deep Fusion technology, it comes baked into the camera’s chip. Its purpose is to give images the best look.
However, many people don’t like their pictures being edited and would rush to the internet to seek ways to turn off the image auto-editing feature.
The truth is, there is no setting or a button that you can press on your iPhone to restrict it from auto-enhancing photos.
What you can do to help is go to the Settings of your phone, then click on Photos.
One of the selections that will pop up is “View Full HDR.” HDR initials mean High Dynamic Range.
It’s basically designed to add glamor to your photos.
If you don’t want that then turn it off and take new pictures to see if there’s no more color correction.
2. Switch to Burst Mode
If turning off HDR doesn’t help, you can switch to the camera’s burst mode.
To access this feature, go to Settings, then Camera, and select “Use Volume Up for Burst.”
This gives you a generous number of photos so you can choose what to stick with.
Burst shots gobble up space in your phone. As such, it is imperative to hunt unwanted clips and weed them out.
3. Take pictures in the actual live mode
This is also another practical way to ensure iPhones produce images in the actual form as the object.
Simply open the camera app and press the Live button atop the camera screen. When on, it records a 3-seconds moving image.
Now go back to the photos app and select the snap you just took and click on Edit. This lets you see all the frames captured.
Now, pick the one with the most natural look and make it a photo. Such pictures rarely spot auto-enhancement.
4. Shoot in Raw Mode
If you find it impossible to completely stop your iPhone camera from adjusting colors, then consider shooting in Raw Mode.
This technique preserves the original data which can later be edited in software tools like Lightroom.
If you shoot in Jpegs, the details get baked in and while it’s not impossible to edit, it just takes a lot of legwork.
Plus, Jpegs have a smaller amount of dynamic range and this means some highlights and shadows may not be entirely preserved.
5. Use third-party apps
iPhones’ native cameras don’t allow users to make changes to their settings.
Thankfully, pro photographers who like to personalize camera settings can resort to third-party apps like Halide and VSCO.
These apps will grant you access to aperture, white balance, shutter speed, depth of field, and many other settings.
Halide is powerful and fast with very few limitations. However, you’ll need to part with a few dollars.
VSCO, on the other hand, is free but may not have many settings and controls are not that intuitive.
When your iPhone camera is not to blame
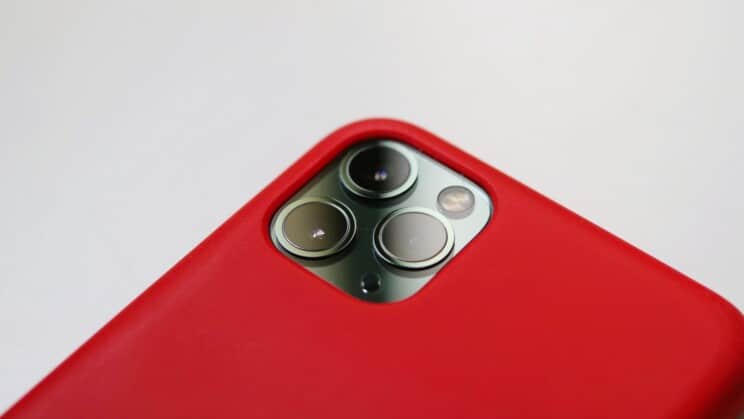
Before you start wondering about how to stop iPhone camera from adjusting color, first, check if you are using the best lighting conditions.
Too much light will result in some sections of your pictures becoming overexposed.
There’s a concept called color temperature that many iPhone users may have experienced at some point.
You snap a picture and the outcome consists of an unsightly blue, yellow, or orange tint. If the entire photo takes a different color tint, this is called a “color cast”.
Color casts are generated based on the kind of light you are shooting in. This means different sources will produce different color casts.
Take candlelight, as an example. It emits warm orange light.
Ordinary incandescent bulbs, on the other hand, generate warm yellow hues.
A color cast can manifest in your entire photo. However, you can tell the most from the white parts.
For instance, if there is a household lamp close to a white wall, the wall will appear yellow-orange because of the cast emanating from the lamp.
There’s also another excellent case in point-shooting snow in cloudy conditions or under some shade.
You will get a blue cast when we all know snow is supposed to be white.
So before you blame your iPhone for adjusting colors of your pictures and videos, be sure to factor in your lighting source or conditions.
Letting the white balance neutralize color temperatures
The human eye is naturally designed to adjust color temperature.
So if you look at a white plate under incandescent light, it would still be white and not orange.
This is because our eyes are good at judging colors even under different light sources.
Cameras, on the other hand, have a hard time reproducing colors accurately under different light sources.
Even the latest best iPhones would still struggle but with AI introduction maybe things could change soon.
Nevertheless, understanding how to adjust the white balance settings on your phone can help you stop your device from adjusting color too much.
How exactly does white balance function?
It’s pretty simple. White balance cancels out the extremes in color hues by either warming them up or cooling them down.
In other words, if the color is too warm, it tells the camera to tone down and vice versa.
In the end, the white parts remain white and other hues are captured accurately as well.
On your iPhone, white balance is represented as AWB (Automatic White Balance).
When the camera fires up, it automatically audits the color source and tries to neutralize it.
And given the iPhones’ advanced camera chips, most are able to reproduce colors accurately.
But there will come days or conditions when the AWB grapples with reading and neutralizing certain colors.
In such cases, you will need to manually control it. But there is a catch, the camera’s native app doesn’t allow editing white balance metrics.
Therefore, you will need to visit the Apple store and download either Halide or VSCO.
Launch the app in camera mode and go to ADV to reveal the white balance (WB) icon.
It comes with a slider that you can move along to make the viewfinder either warm up or cool down to your satisfactory level.
Since settings metrics keep changing from one iPhone model to another, use YouTube or Google to find out exactly how to access and adjust the white balance in your phone model.
Final Thoughts
On their own, iPhones are excellent camera tools.
However, as Apple strives to outshine Google, Samsung, and other upcoming electronics manufacturers, their engineers tend to go overboard with features.
Lately, iPhones have multiple auto-enhancing features, in addition to Smart HDR and mirroring capabilities.
All are designed to let users have a field day capturing day-to-day moments.
But some people don’t want their phones to alter the color of the images. More so pro photographers.
You certainly must be one of them.
The good news is, the tricks mentioned in this article can help you get more natural images that faithfully capture the glory of the subject.

